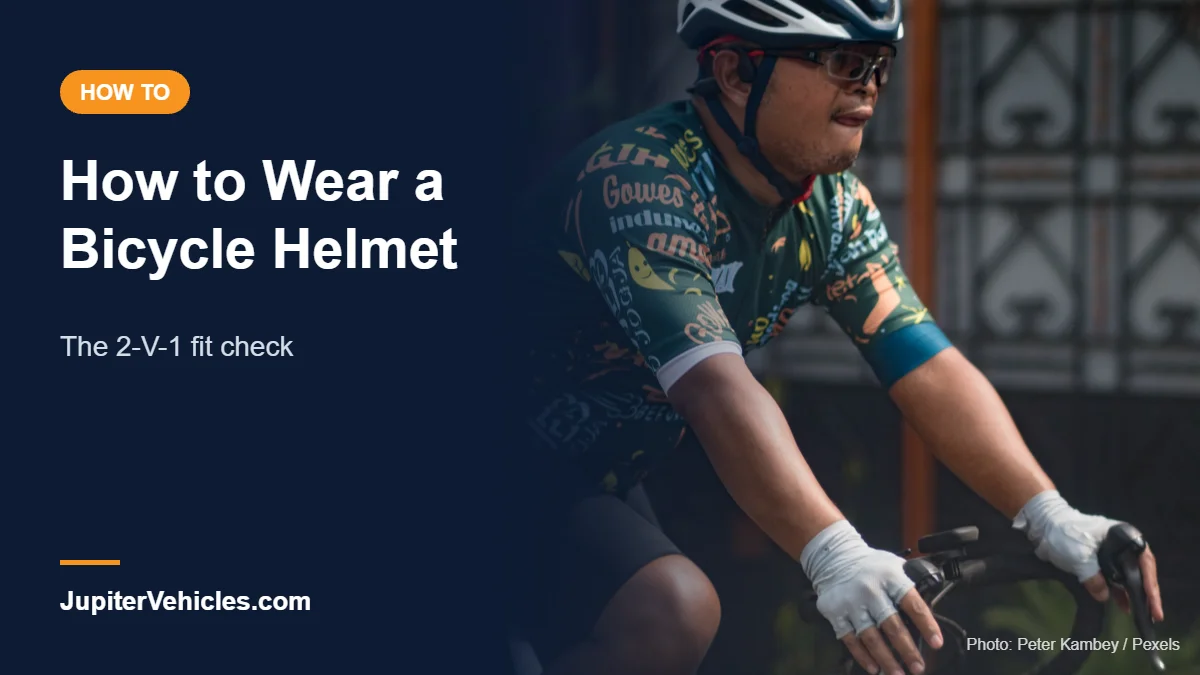
How to Wear a Bicycle Helmet Correctly: The 2-V-1 Fit Check
JupiterVehicles is reader-supported. As an Amazon Associate, we earn from qualifying purchases.
A helmet only protects you if it’s worn correctly. A helmet tipped back on your head or with loose straps can shift or come off in a crash. NHTSA’s bicycle helmet fitting guide boils it down to three quick checks you can do in front of a mirror.
Table of Contents
Before You Start: Size and Pads
- Make sure the helmet is the right size for your head. NHTSA advises against buying a helmet to grow into.
- Loosen the rear adjustment dial and straps.
- If the helmet came with extra pads, use them to fill small gaps for a snug fit.
Step 1: Position (Two Fingers Above the Eyebrows)
Put the helmet on and lay two fingers flat on your forehead just above your eyebrows. The front edge of the helmet should sit just above your fingers. NHTSA says your helmet should sit level, straight and flat on your head, not tipped back.
Step 2: Tighten the Dial
Turn the rear dial until the helmet feels snug all around but not tight. Shake your head gently. The helmet shouldn’t wobble.
Step 3: Side Straps (Form a V Under Each Ear)
Adjust the side straps so they form a V shape just below and slightly in front of each ear. NHTSA suggests making a V with two fingers around your ear as a guide. Do this on both sides, so the strap buckles sit evenly.
Step 4: Chin Strap (Two Fingers Under the Chin)
Buckle the chin strap. According to NHTSA, you should be able to fit about two fingers between the strap and your chin. Tighten or loosen it until the helmet is snug without being uncomfortable.
Final Check
- Open your mouth wide. You should feel the helmet pull down slightly on your head.
- Push the helmet up and back. It shouldn’t move more than about an inch, or slide off your forehead.
- Look up. You should just be able to see the front edge of the helmet.
Common Mistakes
| Mistake | Fix |
|---|---|
| Helmet tipped back, forehead exposed | Move it down to two fingers above the eyebrows |
| Loose chin strap | Tighten until two fingers fit |
| Straps twisted | Flatten them before buckling |
| Wearing a hat underneath | Remove it, or use only a thin cap the helmet still fits over |
| Helmet too big | Get a smaller size; pads can’t fix a large mismatch |
Wearing Glasses or a Ponytail
Many helmets have a dial cradle that adjusts up and down to clear a ponytail. Check that sunglasses arms don’t push the helmet out of position.
When to Replace Your Helmet
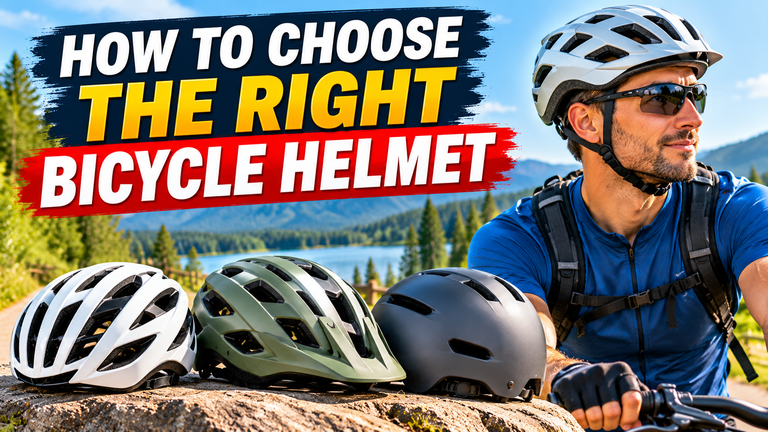
The Bicycle Helmet Safety Institute says to replace a helmet after any crash where your head hit it, or if the foam is cracked. Shopping for a new one? See how to choose a bike helmet and our best bicycle helmets.
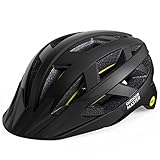
- MIPS Safety: The Mips system is designed to provide added safety for helmets in many accidents. For certain impacts, the system can reduce harmful rotational forces
- Double Adjustment: 2 different thicknesses liners(0.23 & 0.31 inch) and the adjustment dial maximize the head fit, flexibly adapted to different kinds of cycling glasses and avoid pulling hair
- Comfortable: The removable visor and the skin-friendly adjustable chin strap offers comfortable wearing and better fit better
- A Helmet For Multi-Sport: Equipped with 25 individual vents for next-level ventilation for better experience when skating, cycling, BMX, MTB and more
- What You Get: 1 x OutdoorMaster MIPS bike helmet, 2 x liners, OutdoorMaster's friendly customer service
FAQ
How do I know if my bike helmet is on correctly?
It sits level two fingers above your eyebrows, the straps form a V under each ear, and about two fingers fit under the chin strap.
Should a bike helmet cover your forehead?
Yes. It should sit low on the forehead, about two finger widths above the eyebrows.
How tight should a bike helmet be?
Snug enough that it doesn’t move when you shake your head, but not so tight it’s uncomfortable.