How to Hardwire a Dash Cam to the Fuse Box (Step by Step)
JupiterVehicles is reader-supported. As an Amazon Associate, we earn from qualifying purchases.
Hardwiring a dash cam means powering it straight from your car’s fuse box instead of the 12V socket. It frees up the socket, hides the cable, and, most importantly, lets the camera keep recording in parking mode after you turn the car off.
This guide covers only the hardwiring part: picking fuses, fitting fuse taps, grounding, and setting the battery cutoff. For mounting the camera and routing the cable along the headliner, see our full guide on how to install a dash cam.
Safety first: you’ll be working in your car’s fuse box. If you’re not comfortable with basic 12V wiring, a professional install is a reasonable choice. Always check your owner’s manual for fuse functions, and never tap a fuse for airbags or other safety systems.
Table of Contents
What You Need
- A hardwire kit made for your camera. Match the connector (USB-C, mini-USB or a brand-specific plug). For parking mode, you need a 3-wire kit with constant, ACC and ground wires.
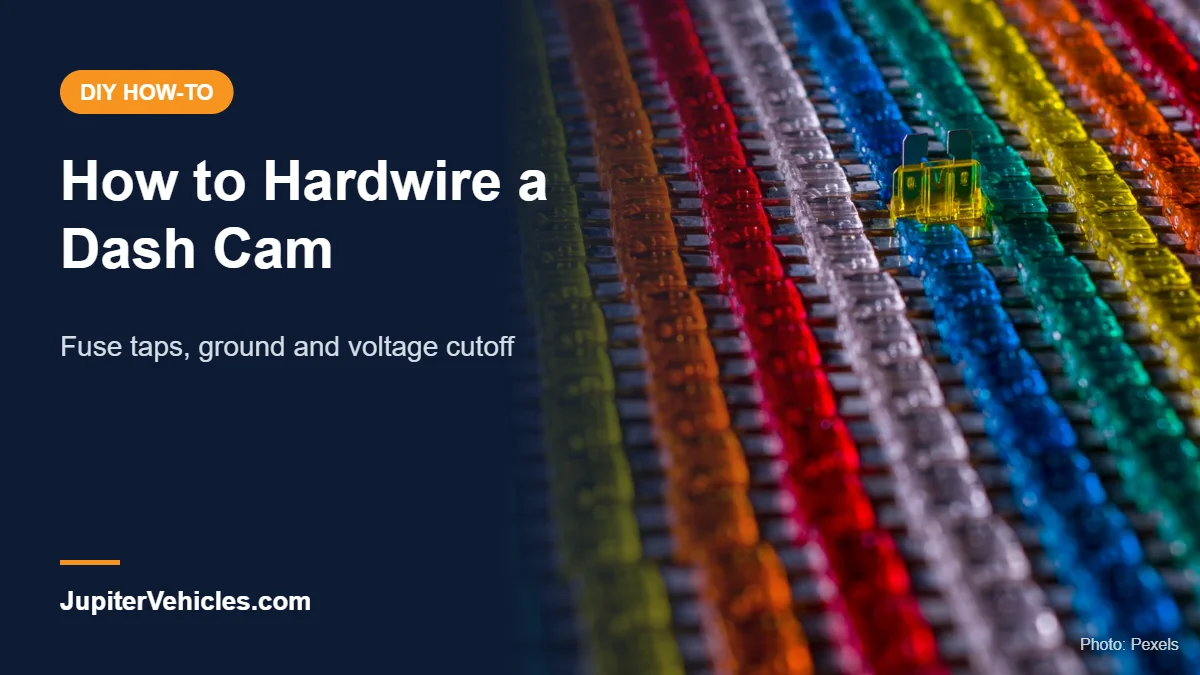
- Fuse taps (add-a-circuit) in the right size. Cars use standard (ATO/ATC), mini (ATM), low-profile mini, or micro2 fuses. Pull one fuse to check before you buy.
- A circuit tester or multimeter to find constant and switched fuses.
- Crimping pliers if your fuse taps need crimping, plus a fuse puller.
- A plastic trim tool for tucking the cable behind panels.
- Zip ties or electrical tape to keep the wiring tidy.

- 【24 Hours Parking Surveillance】When the engine is off, HK4 hardwire kit provides continuous power to the camera, any collisions, event will be recorded.
- 【Low Voltage Protection】HK4 hardwire lets you set a voltage cut-off value with 4 options, when the voltage of vehicle’s battery drops to the cut-off value, it will stop powering your dashcam, thus protecting your battery from discharge.
- 【Automatically switch parking mode】With ACC detection, the dash cam will switch to parking mode automatically if the vehicle engine is off. The dash cam will switch into normal recording when the vehicle engine is on.
- 【12 / 24V Compatible】HK4 ACC Hardwire kits connects the camera directly to the car, truck, bus, SUVs, or big rig for continuous power, accepts voltage from any type of vehicles runs on 12 – 24V.
- The hardwire cable length is 13.1ft (4m). The red battery cable should be connected to constant power. The ACC yellow cable should be connected to ignition. The Ground cable should be connected to vehicle body.
VIOFO’s HK4 is one example of a 3-wire kit that includes a set of fuse taps. Check that a kit lists your exact camera model before you buy.

- DUAL-SLOT FUSE HOLDER: The dual-slot fuse jumper connector provides two fuse holders, one fuse holder to protect existing circuits and the second fuse holder to protect new circuits, making it safe and reliable to use in daily life
- HIGH QUALITY MATERIAL: The fuse tap is made from high quality materials, with good Flexibility, melting resistance and excellent electrical conductivity
- EASY TO USE: Easy installation of additional circuits without splicing or cutting, Plug into occupied or vacant energized fuse block slot, very easy to connect to any naked wires by only using a vise
- WHAT YOU GET: 16 pack 4 types fuse tap kit Includes 4pcs standard fuse taps, 4pcs Mini fuse taps, 4pcs Micro2 fuse taps, 4pcs Low Profile mini fuse taps and 16pcs blade fuses
- WIDE APPLICATION: Cooclensportey fuse tap compatibility with car, motorcycle, truck, RV, UTV and boat, etc. Aslo suitable for auxiliary equipment of automobiles, such as tachographs, fuse boxes, car alarm, GPS or other electronic devices that require direct wiring into the fuse box
A multi-size fuse tap pack is cheap insurance if you’re not sure which fuse size your car uses.
How a Hardwire Kit Works
A typical parking-mode hardwire kit has three wires:
| Wire | Usually connects to | What it does |
|---|---|---|
| Constant (often red or yellow) | A fuse with power even when the car is off | Powers parking mode |
| ACC (often red or yellow, check your label) | A fuse that’s live only with the ignition on | Tells the camera whether you’re driving or parked |
| Ground (usually black, with a ring or C-shaped terminal) | A bare metal bolt on the chassis | Completes the circuit |
Wire colors vary between brands, so always follow the labels on your kit. BlackboxMyCar’s hardwiring guide warns that reversing the constant and ACC wires can make the camera behave strangely or drain the battery.
A 2-wire kit (ACC and ground only) is simpler, but the camera turns off with the car, so you get a clean install without parking mode.
Step-by-Step: How to Hardwire a Dash Cam
Step 1: Mount the Camera and Route the Cable
Mount the camera first, then run the hardwire cable along the headliner, down the A-pillar and under the dash toward the fuse box. Leave the fuse box end loose until you’ve tested everything. On the A-pillar, tuck the cable behind the airbag (alongside existing wiring) rather than across it, so it can’t interfere if the airbag deploys. Our guide on where to mount a dash cam covers placement.
Step 2: Find the Fuse Box
Check your owner’s manual. The interior fuse box is often under the steering wheel, in the driver’s footwell, on the side of the dash (with the door open), or behind the glove box. If your car has more than one, use the one closest to your cable route.
Step 3: Find a Constant Fuse
With the car off and the key out (or away from the car for push-button starts), clip the tester’s ground to bare metal and probe the small test points on top of each fuse. A fuse that lights the tester now has constant power. Good choices are non-critical circuits such as the power socket, dome lights or a power seat.
Step 4: Find an ACC (Switched) Fuse
Turn the ignition to ACC or ON. A fuse that was dead before and lights up now is switched. Radio, 12V socket and sunroof fuses are common choices. Avoid airbag, ABS, engine control, fuel pump and lighting circuits. BlackboxMyCar recommends fuse slots rated between 10A and 30A for a dash cam.
Step 5: Install the Fuse Taps
- Pull the fuse you chose.
- Put the original fuse in the fuse tap’s lower slot (the one for the existing circuit).
- Put the fuse supplied with the tap or kit (usually 2A to 5A for a dash cam) in the upper slot for the new circuit.
- Crimp the hardwire kit’s wire into the tap’s barrel connector and tug it to make sure it’s tight.
- Push the fuse tap into the empty slot. Many installers check which side of the slot is the supply (hot) side and orient the tap as its instructions show, so each circuit stays protected by its own fuse.
Repeat for the second fuse if you’re using a 3-wire kit.
Step 6: Connect the Ground
Loosen a bolt or nut that’s bolted to the car’s metal frame near the fuse box, slide the ground terminal under it, and tighten it. Use bare metal, not a painted surface or a plastic panel. A weak ground is one of the most common reasons a hardwired camera won’t power on or keeps restarting over bumps.
Step 7: Set the Low-Voltage Cutoff
Most parking-mode kits have a switch or app setting that cuts power when the battery voltage drops to a set level. VIOFO’s HK4, for example, offers cutoff options from 11.8V up to 12.4V for 12V systems.
- Higher cutoff (around 12.2V to 12.4V): protects the battery better. Use it for older batteries, cold weather, or cars that sit for days.
- Lower cutoff (around 11.8V to 12.0V): records longer but leaves less reserve for starting the engine.
Battery University’s guide to measuring state of charge explains why resting voltage is only a rough guide to how much charge a battery has left, which is why a conservative cutoff is safer.
Step 8: Test Before You Tidy
Plug the kit into the camera and start the car. The camera should power on and start recording. Turn the car off: a 3-wire kit should switch the camera into parking mode instead of shutting down. Also check that the circuits you tapped (like the radio or socket) still work.
Step 9: Tidy Up and Close the Panels
Bundle extra cable with zip ties so it can’t dangle near the pedals, tuck it away from moving parts, and replace any panels you removed.
Common Hardwiring Mistakes
- Using a painted bolt for ground. The camera won’t power on or will reboot randomly.
- Swapping the constant and ACC wires. The camera may not switch modes and can drain the battery.
- Forgetting the fuse in the tap’s upper slot. The kit gets no power.
- Tapping a safety circuit. Never use airbag, ABS or engine control fuses.
- Setting the cutoff too low. You may come back to a car that won’t start.
Hardwire vs. Other Power Options
| Option | Parking mode | Install effort | Notes |
|---|---|---|---|
| 12V socket adapter | Usually no | Easiest | Cable is visible; uses the socket |
| Hardwire kit | Yes (3-wire kit) | Moderate | Cleanest look; needs fuse taps |
| OBD power cable | Often yes | Easy | Plugs into the OBD-II port; check compatibility with your car |
| Dash cam battery pack | Yes | Moderate | Protects the car battery; costs more |
If you’re weighing the cost of a DIY hardwire against paying a shop, our breakdown of how much a dashboard camera costs includes kit and installation prices.
Frequently Asked Questions
Is it hard to hardwire a dash cam?
Not for most people comfortable with basic car wiring. Finding the right fuses with a tester is the main skill. Plan on about an hour for a front camera.
Will hardwiring a dash cam drain my battery?
It can in parking mode, which is why you should use a kit with a low-voltage cutoff and set it conservatively, especially if your car sits for several days.
Does hardwiring a dash cam void my warranty?
Fuse taps don’t cut or splice factory wiring, so they’re a low-impact method. Warranty rules vary, though, so check with your dealer if you’re concerned.
Which fuse should I use for a dash cam?
Use a non-critical fuse: the power socket, radio or sunroof for ACC power, and dome lights or power seats for constant power. Avoid airbag, ABS and engine circuits.
Do I need a 3-wire hardwire kit?
Only for parking mode. A 2-wire kit powers the camera while you drive and shuts it off with the car.
The Bottom Line
To hardwire a dash cam, find one constant and one switched non-critical fuse, connect your kit with fuse taps, ground it to bare metal, set a safe voltage cutoff, and test before you tidy up. Done carefully, it gives you a cleaner install and parking-mode recording without draining your battery.